Configure the Load Balancer
Configure the Load Balancer
Prior to configuration, view:
- The external IP address, or its range. You can view this in vShield Edge properties.
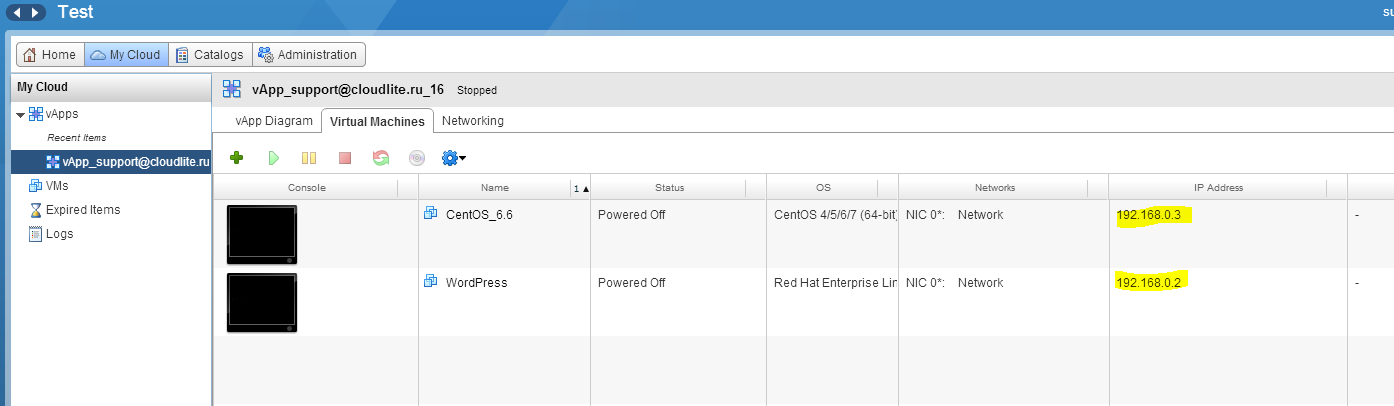
- The internal IP of the virtual machines that will be involved in the load balancing. To do this, go to the My Cloud tab, open the vApp with the required virtual machines, and look for the required information in the relevant column.
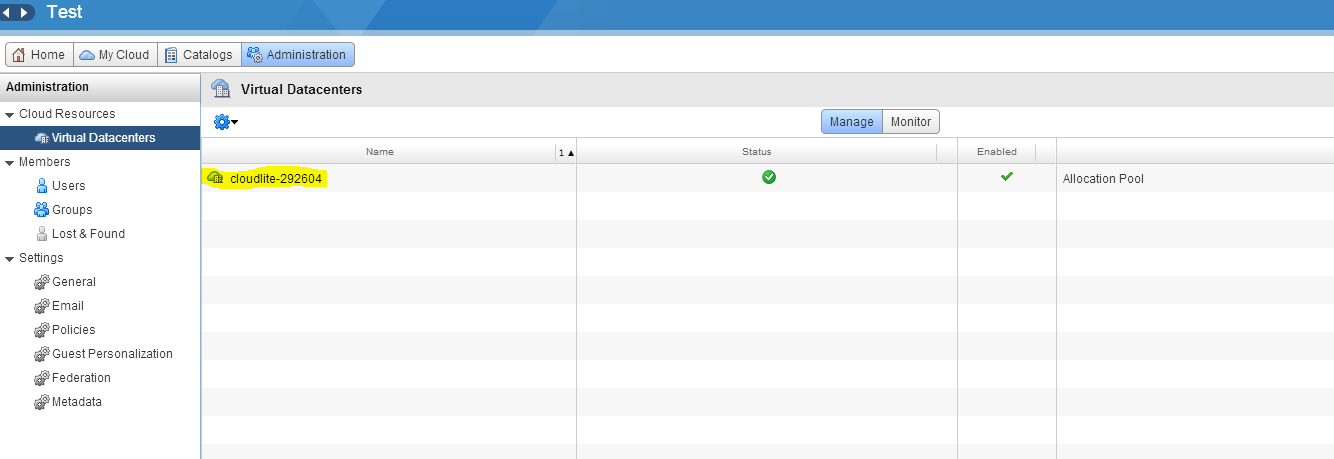
1. Go to Administration and click on the virtual data center.
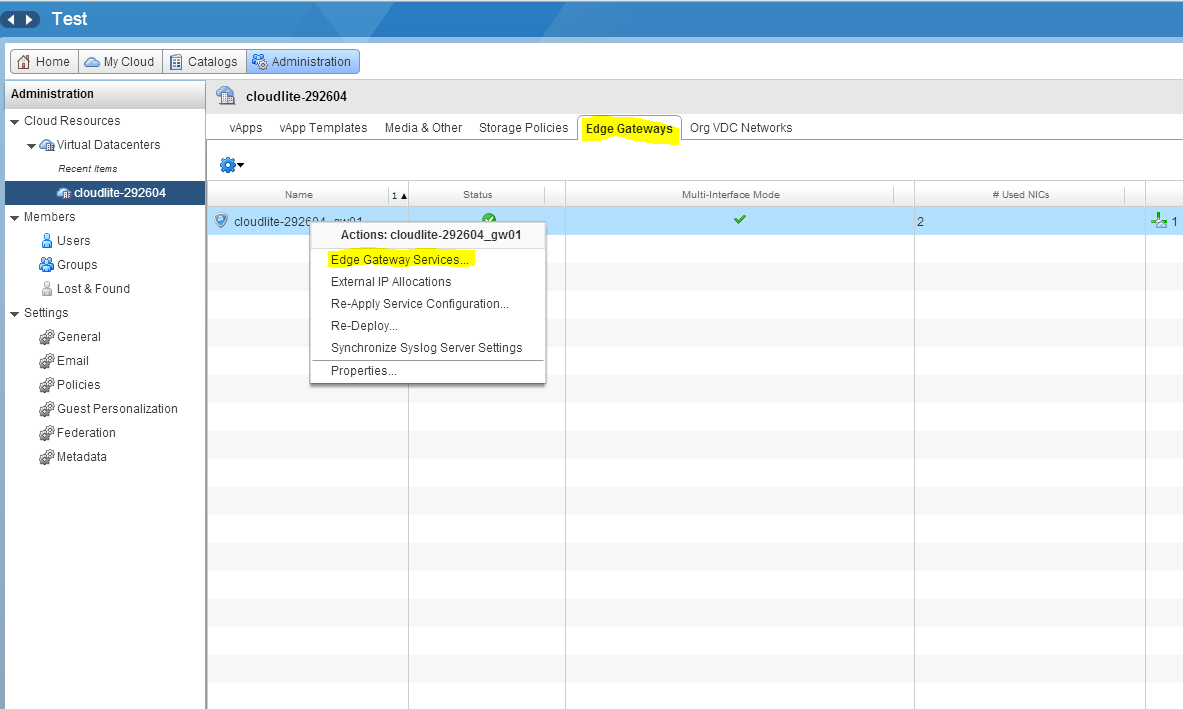
2. Go to the Edge Gateways tab, right-click on Edge and select Edge Gateway Services.
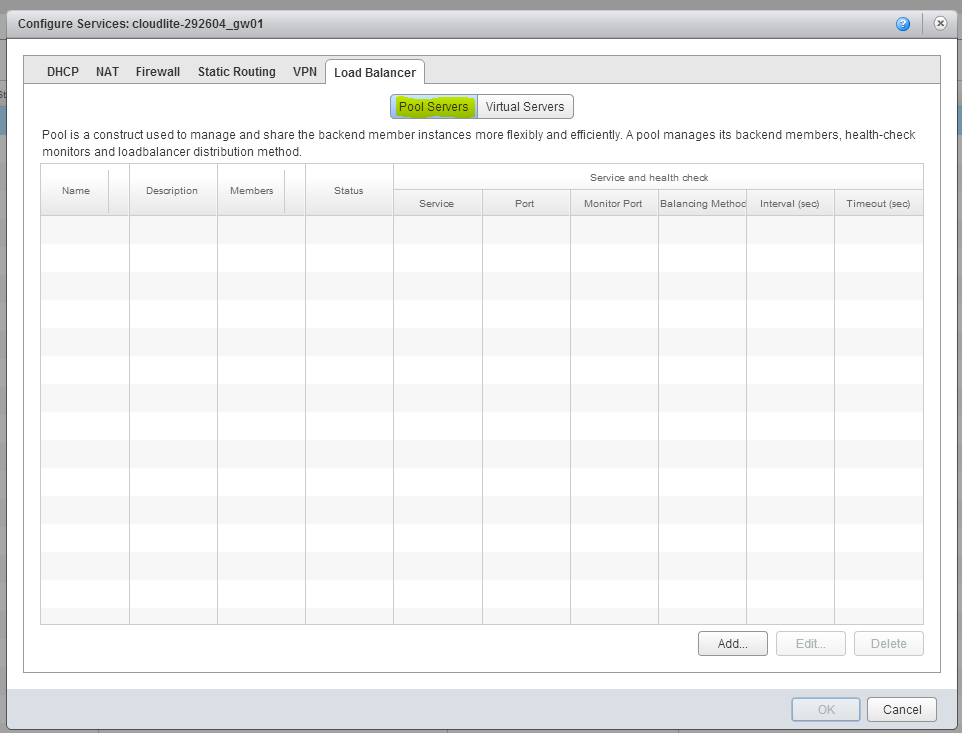
3. In the new window go to the Load Balancer tab. First, you need to add a pool of virtual machines (servers), between which you will balance the load. To do this, click on Pool Servers and click on Add.
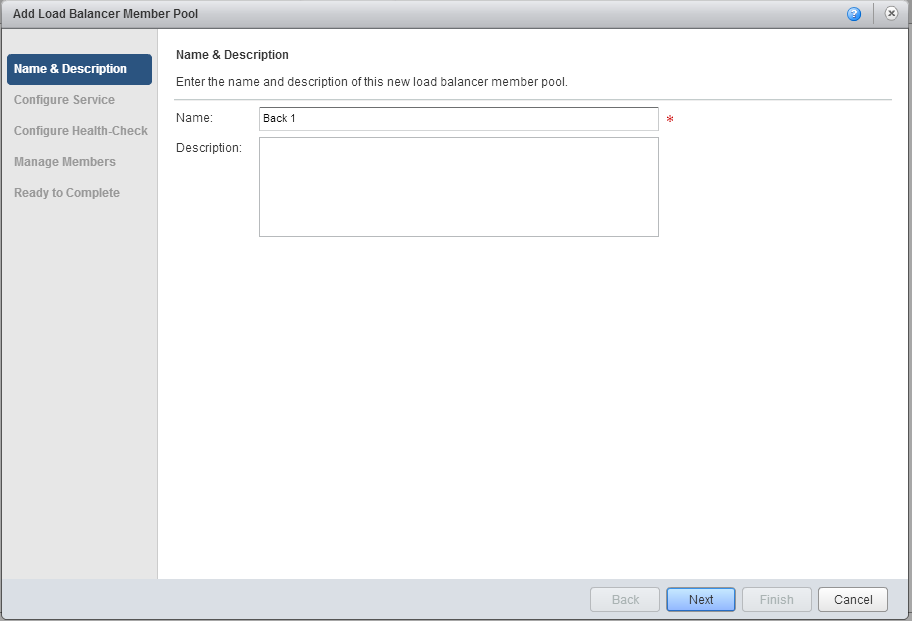
4. Specify the pool name and description, if required.
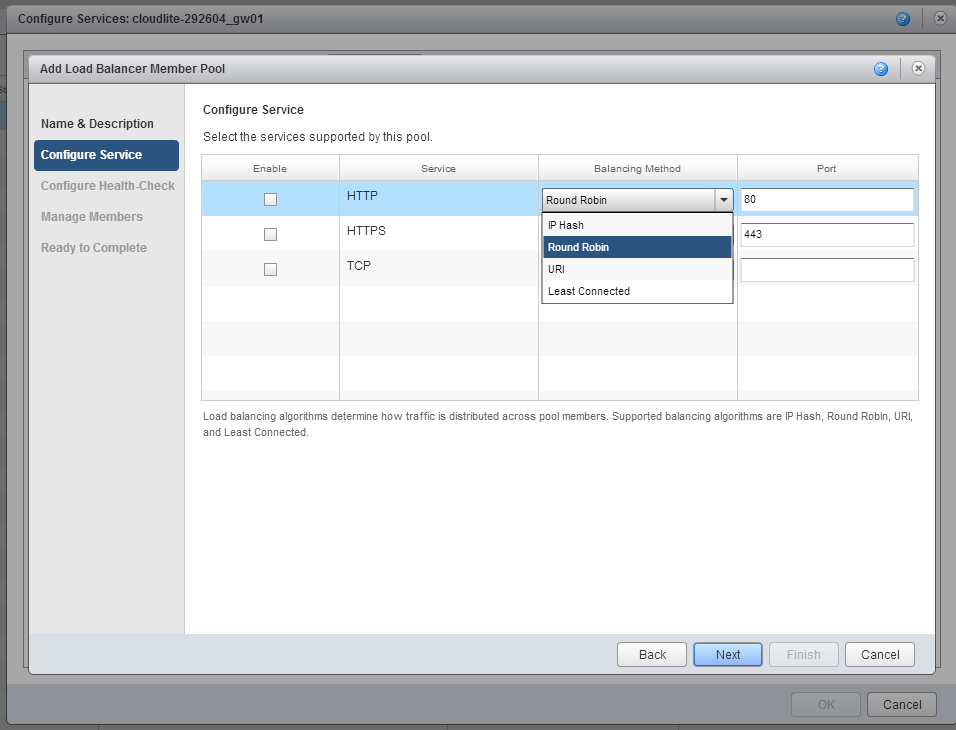
5. Next, select on what protocol the server (HTTP, HTTPS, TCP), ports and balancing method will be available, i.e. the algorithm, according to which traffic will be shared between virtual machines. The following methods:
- IP Hash: all requests from the same IP address go to the same server from the pool.
- Round Robin: requests are distributed among servers in turn depending on the required weight.
- URI: all requests to the same address will go to 1 virtual machine. Applicable only for servers that are available on the http protocol.
- Least Connected: the new request will be routed to the least loaded server.
For example, select the http protocol, Port 80, Round Robin method.
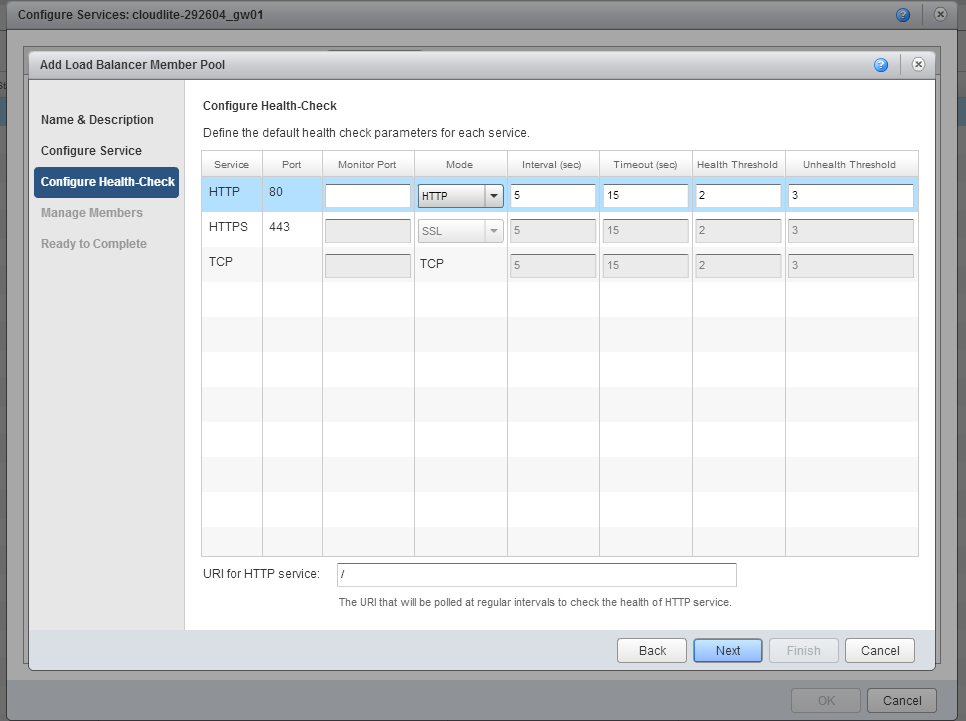
6. In the next step set the parameters according to which the availability of the pool servers will be monitored:
- port
- protocol
- interval
- timeout
- health threshold
- unhealth threshold.
In the URI field for the HTTP service indicate the address for which the load balancer will check the server status. It can be left as it is (/).
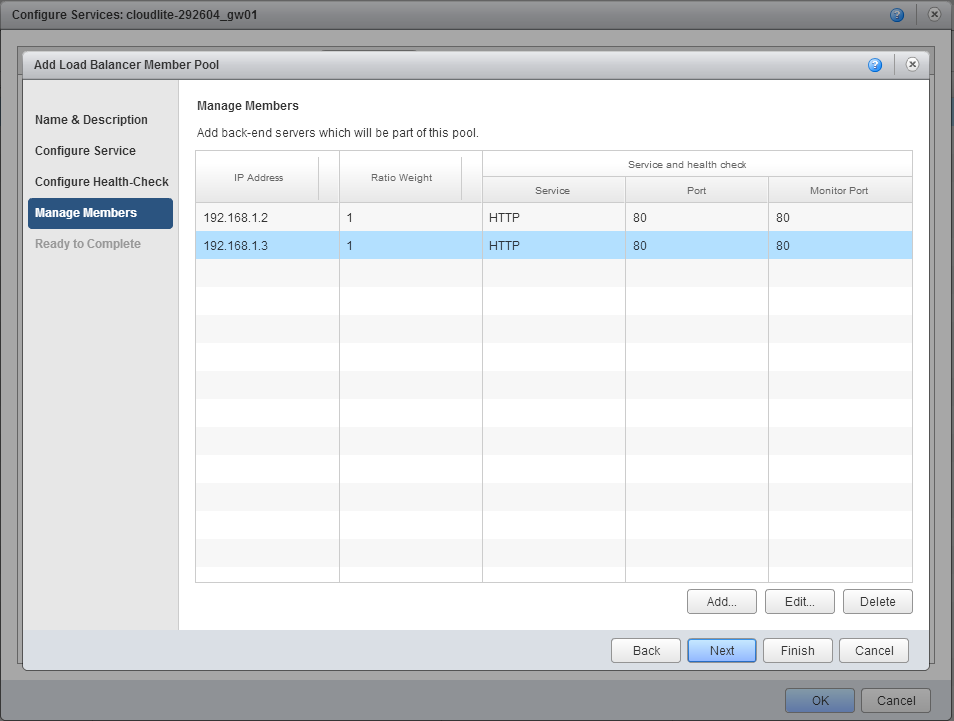
7. Next, in the created pool add the IP address of the virtual machines (Members). To do this, click on Add, and type into the corresponding field the IP address of the machines between which you will balance the load. For example, 192.168.1.2 and 192.168.1.3.
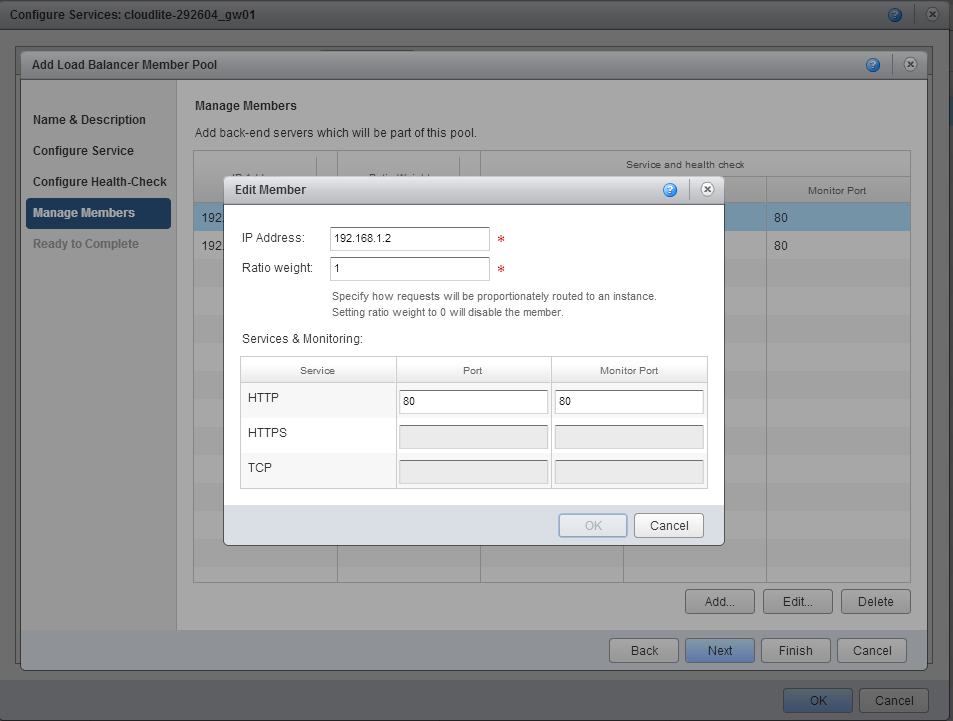
In Ratio Weight, specify the server weight in the load balancing. If for the first server you specify a weight of 1 and for the second a weight of 2, then the second server will receive double the number of requests.
If you set a weight of 0, the server will not be involved in the load balancing.
Add a second virtual machine and click on Next.
8. In the Ready to Complete tab double check everything and click on Finish.
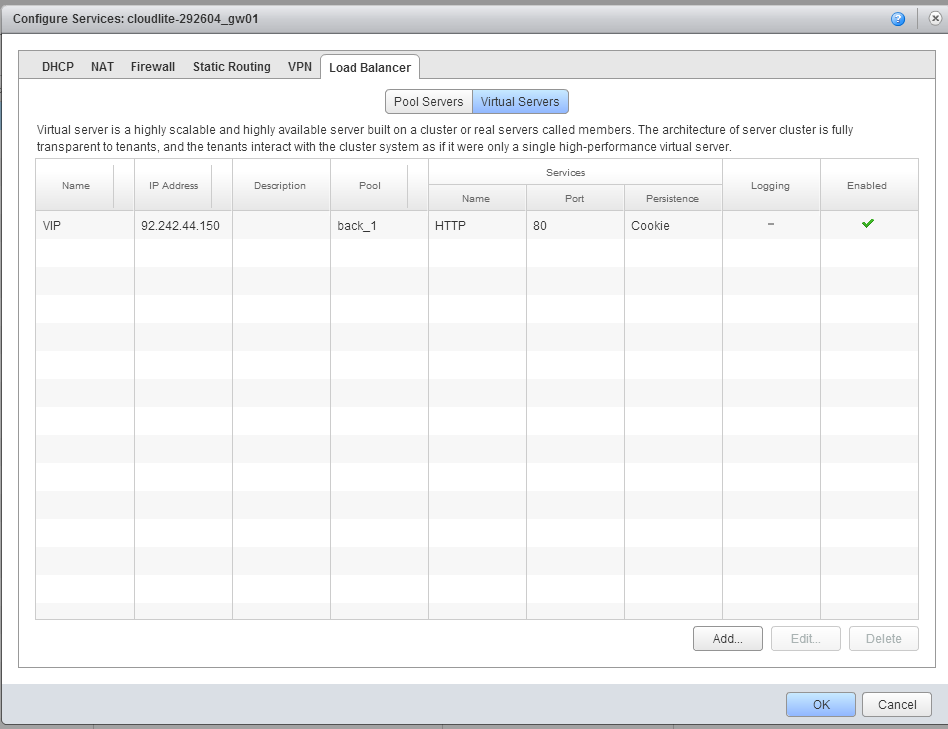
9. Go back to the home page, go to the tab Virtual Servers and click on Add.

10. Specify the name of the virtual server.
- In the Applied On field, select the network (external!). In our case it is cloudlite-internet-2.
- Assign the IP address from the Sub-Allocated IP Pool (the one that we viewed here)
- Select the server pool created in the previous step.
If you require that every client is sent to the server to which a request was made the first time, select the Persistence Method Cookie. When all is added, click on OK.
11. Do not forget to click on OK on the main page.
The Load Balancer is configured. If you did not previously configure the Firewall, you should do it now. List the rules for it so that it lets through the required traffic (detailed instructions here).