Create a virtual machine role from a collection
Log into the My.Cloud-V management portal at my.cloud-v.ru in your account.
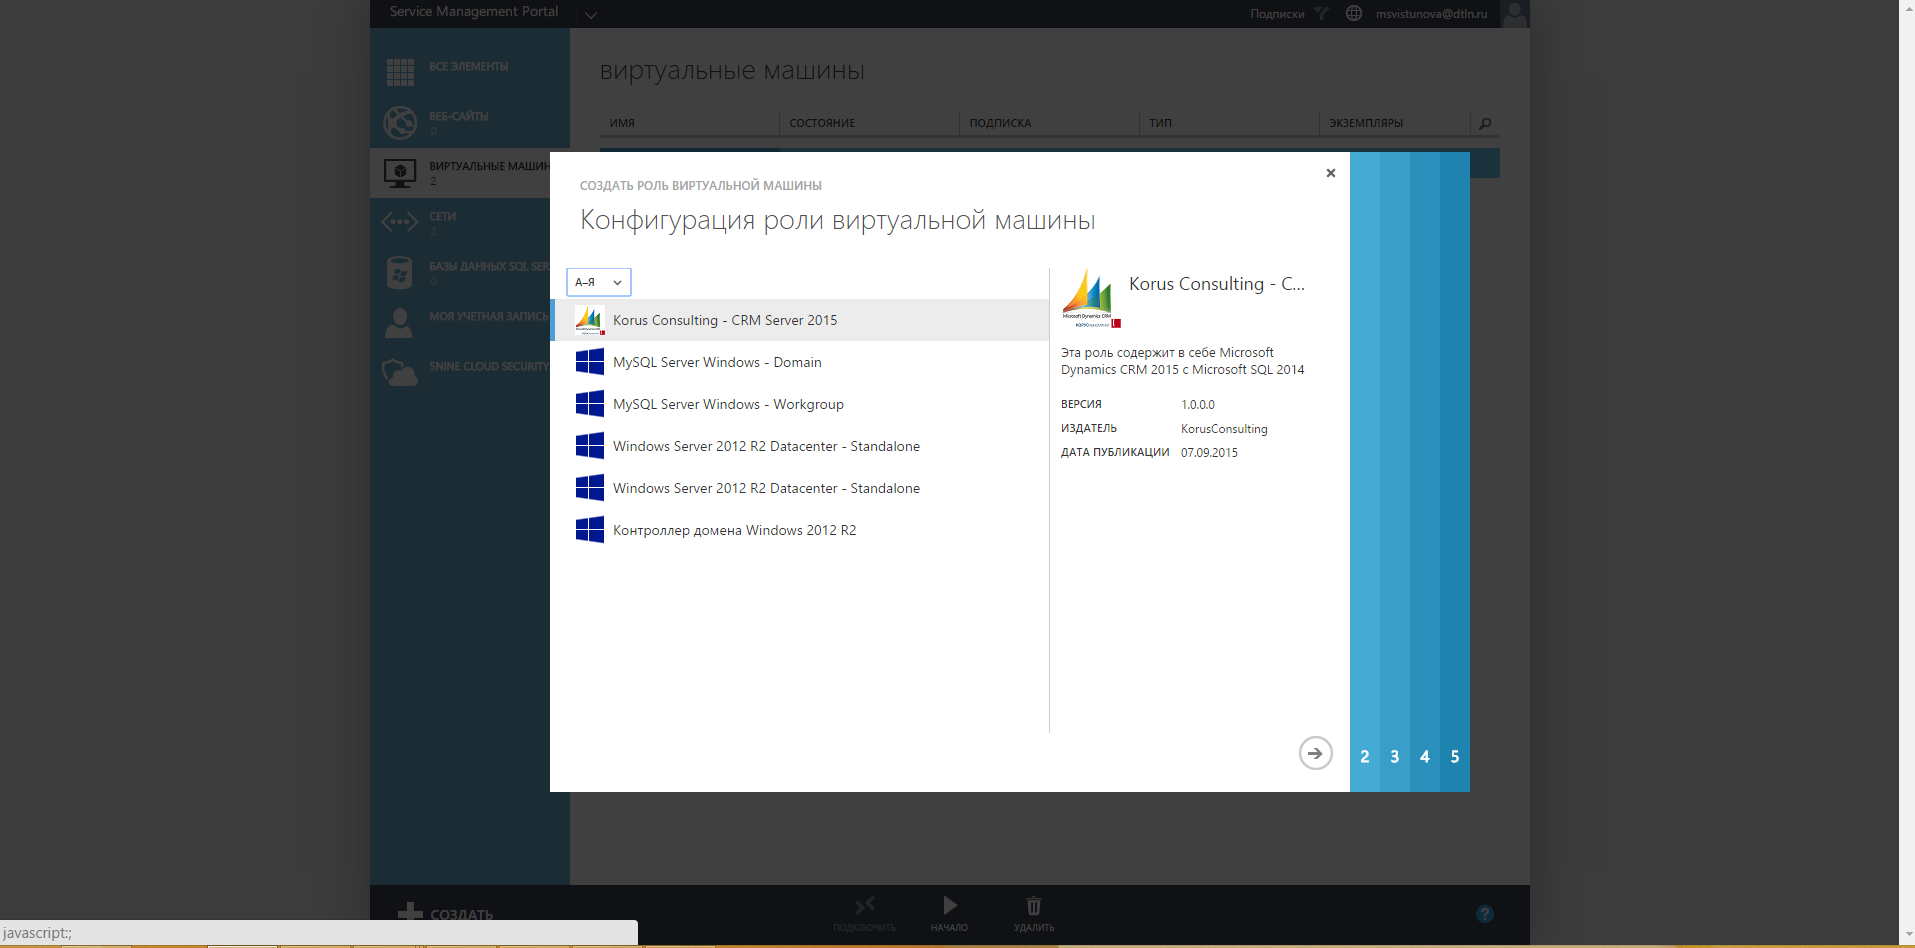
To create a virtual machine role from a collection, go to the Create command bar, select the tab Virtual machine role tab and click on From a collection.
- Select the configuration of the virtual machine role.
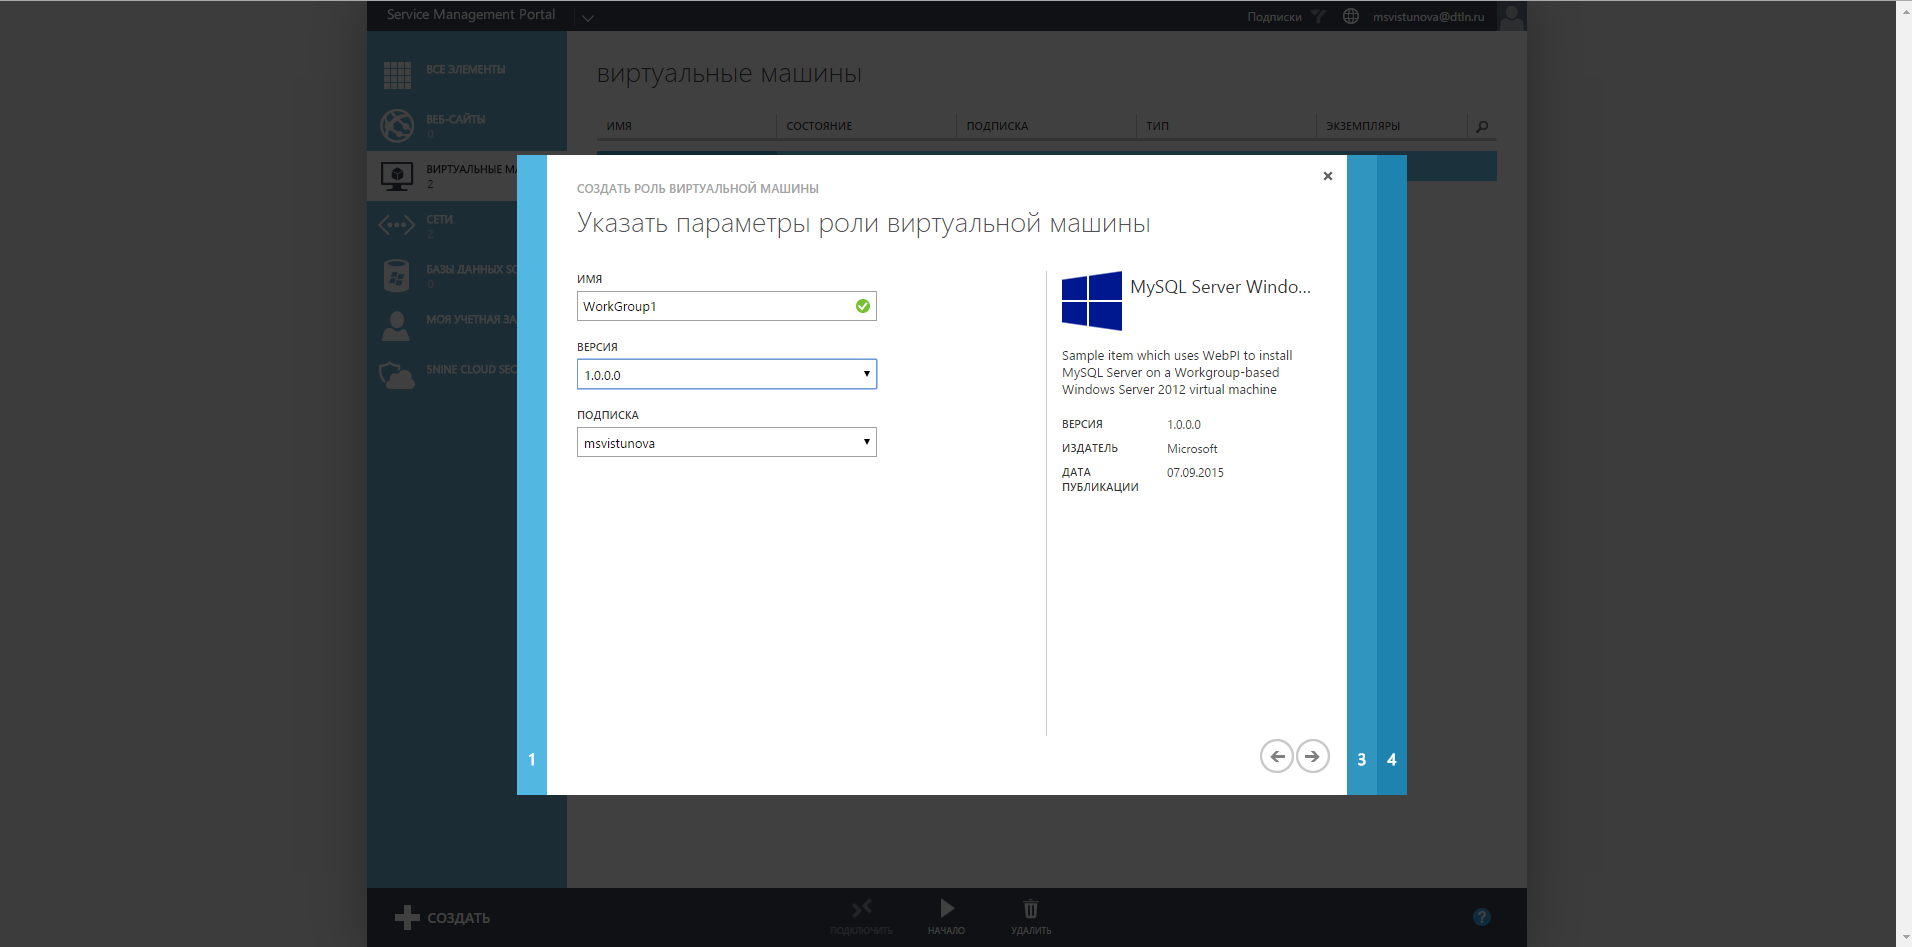
- Assign a name to the virtual machine role.
- Select the version.
- Choose the subscription which this virtual machine role is linked to.
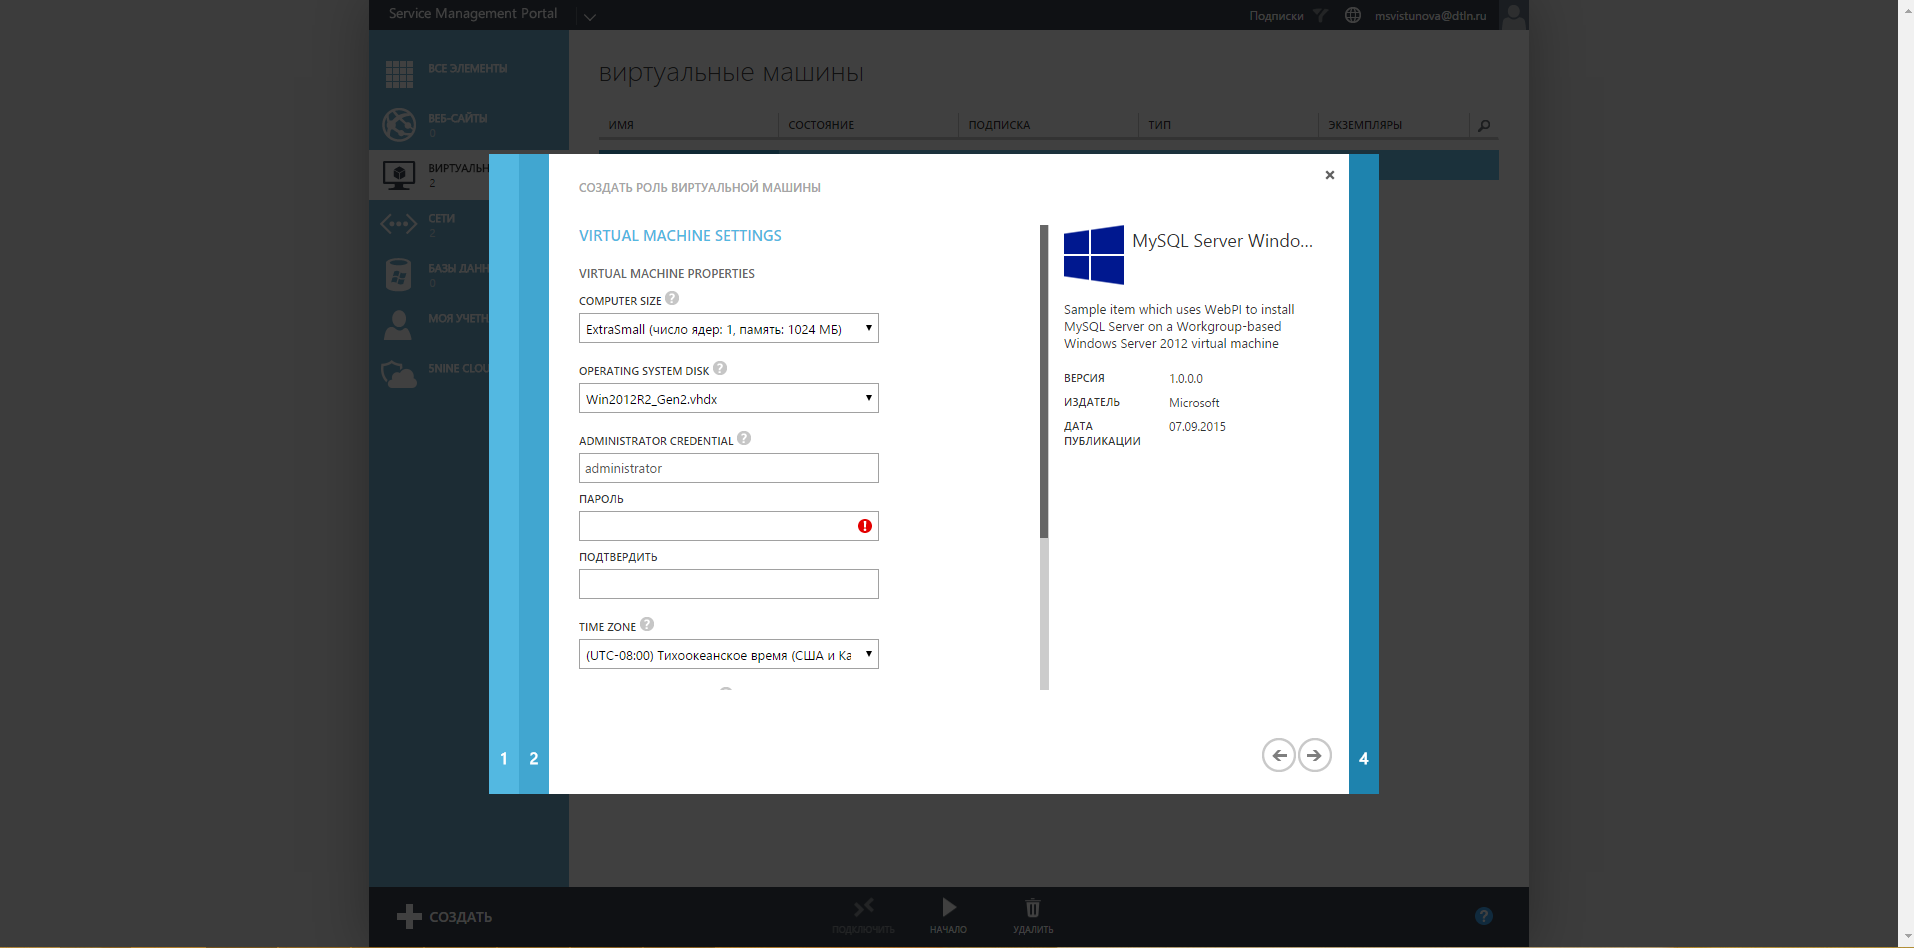
- Set the size of the virtual machine role.
- Select the operating system
- Specify the time zone
- Set a password.
Note: Be sure to remember your password. It is not possible to reset your password by regular means in the Cloud-V portal.
- Specify the operating system account details.
- Add a virtual network. To connect the VM role to a network, you must create a virtual network in the subscription. Please refer to Network configuration.
- Configure the application.
The application settings depend on the virtual machine role with which service is being installed.
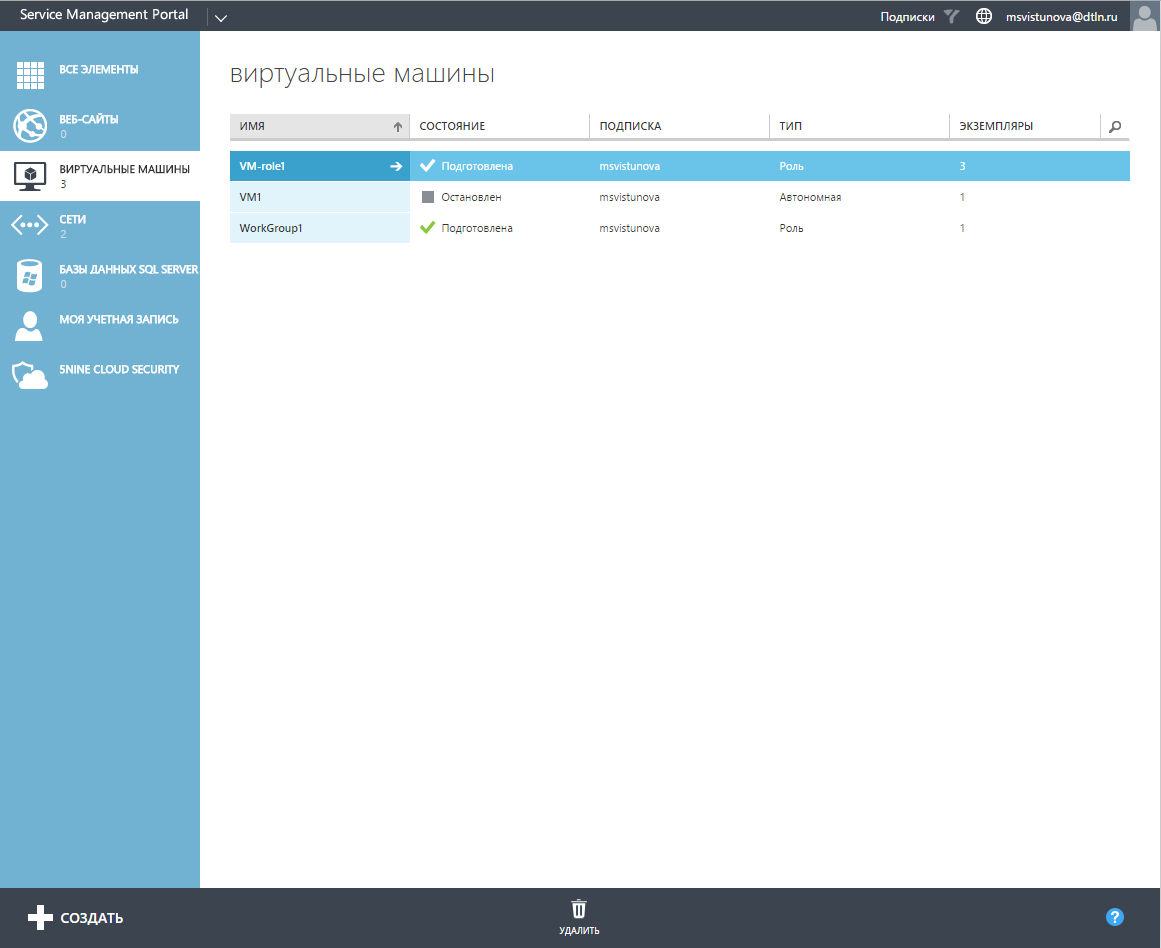
- Click on Finish. The virtual machine role has been created. The virtual machine role will appear in the Virtual machines section in your account.
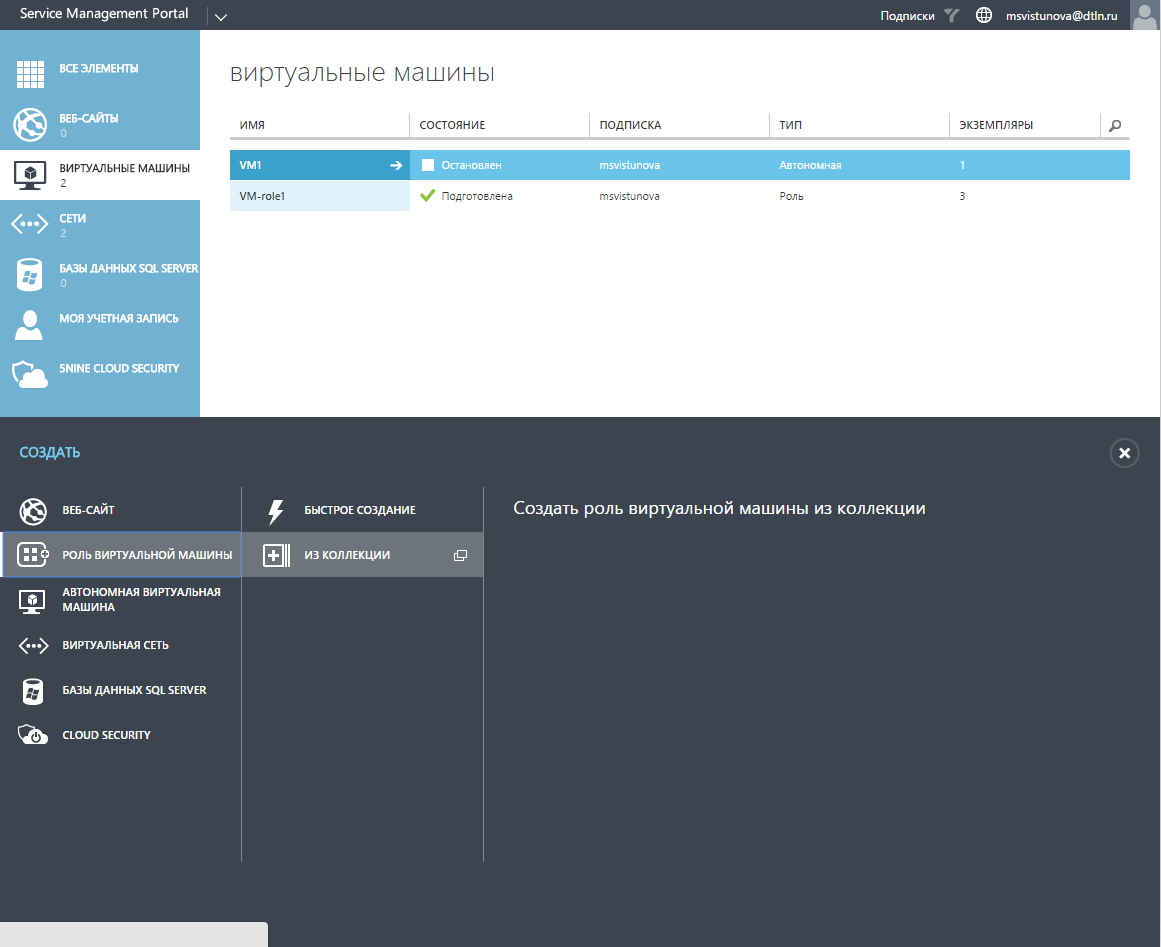
To configure a virtual machine or a virtual machine role, go to Virtual machines from the main menu and click on the arrow next to the corresponding virtual machine.
Important: you can only change the size and network connections of the virtual machine when the virtual machine is stopped.