Create a virtual machine from a WordPress template
Create a virtual machine from a WordPress template
1. Deploy a virtual machine from a WordPress template as described in this manual.
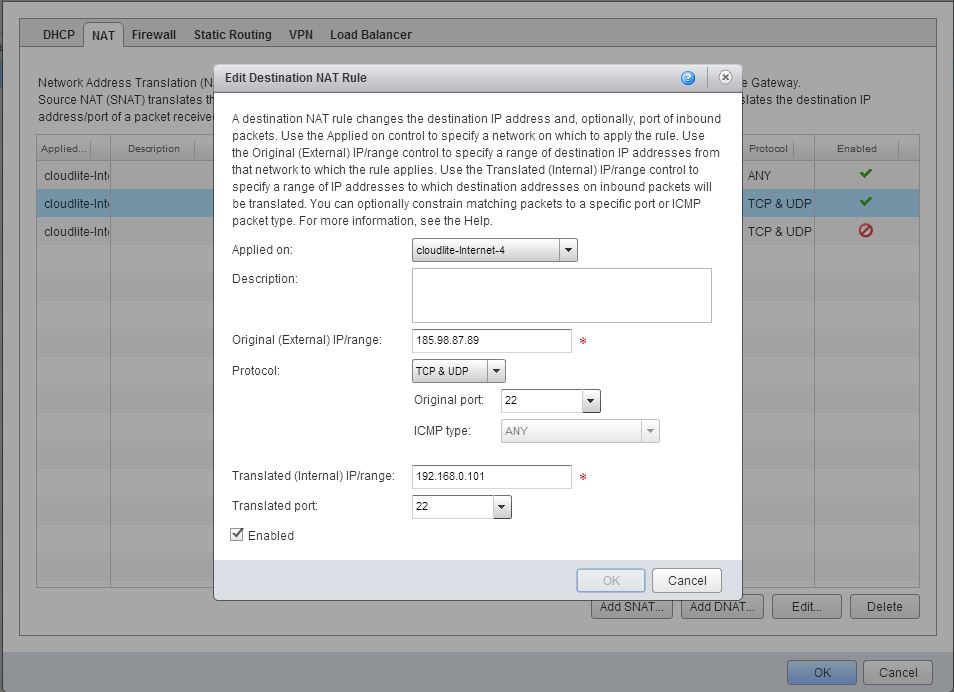
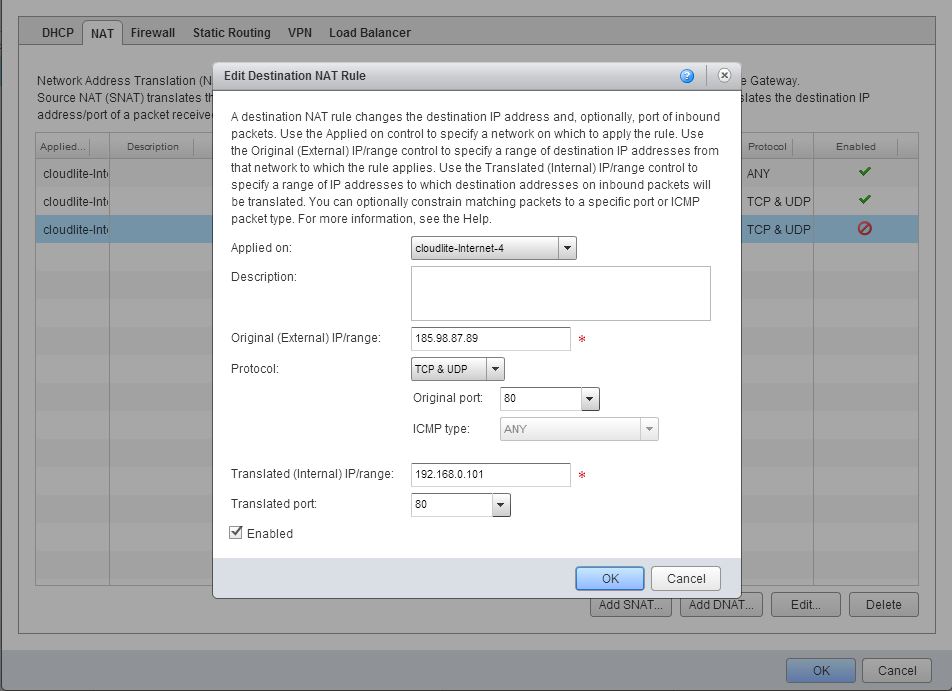
2. Through NAT open port 22 and 80 to the virtual machine.
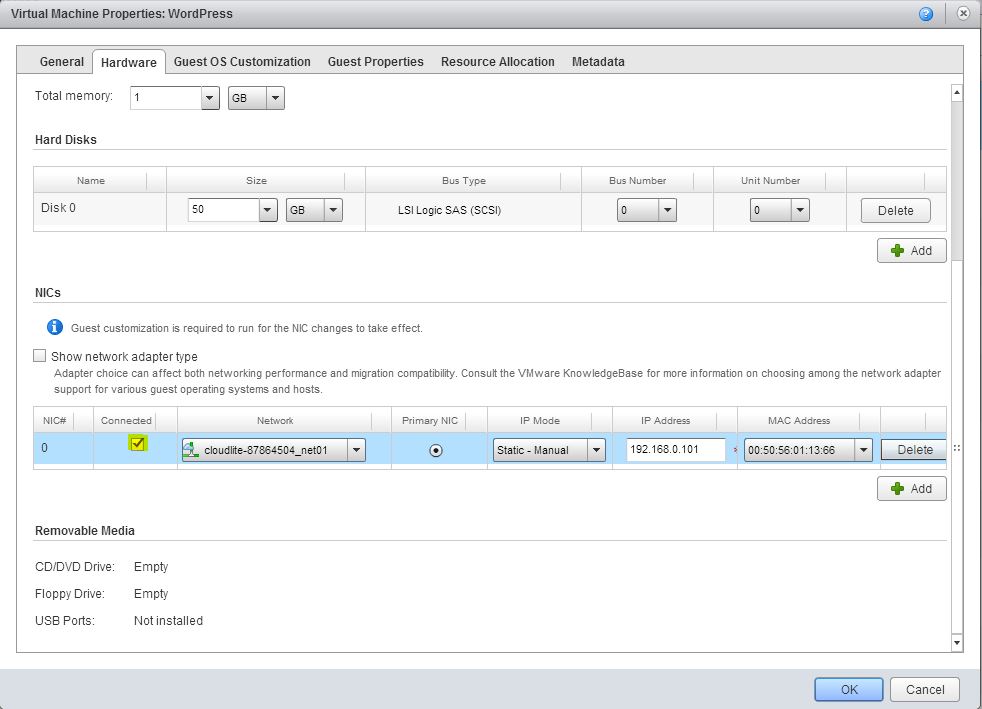
3. In the virtual machine settings specify the local IP address.
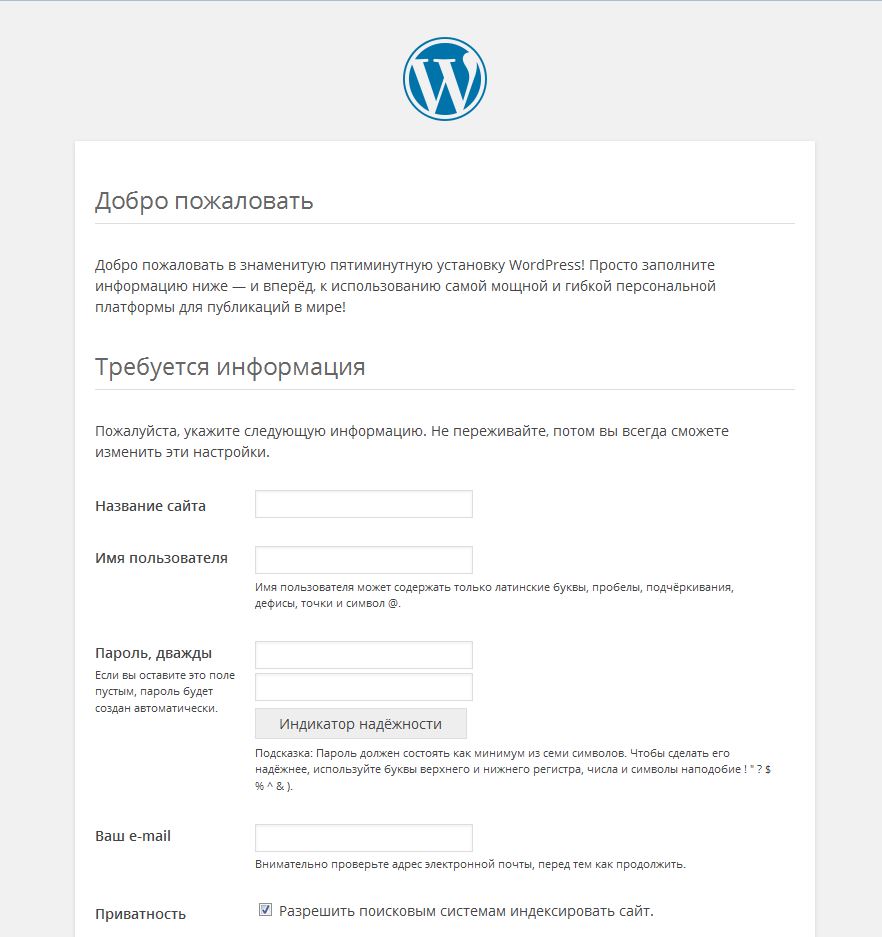
4. Log in to your IP in your browser, and enter the required data.
Login to the MySQL database
1. For the wordpress user, use the password which can be viewed as follows:
- Log in to the virtual machine
- Open the file /var/www/wordpress/wp-config.php or the command from the command line server grep DB_PASSWORD/var/www/wordpress/wp-config.php

2. For the root user, use the password which can be viewed in /root/.my.cnf.
If you are logged in as the user root, you can access the MySQL database without a password (it is taken from the file .my.cnf).
If you are logged in as a different user that you created earlier, to access the MySQL database as a root user you are required to enter a password.

Log in to your CMS WordPress control panel
1. Type into the browser vash_IP/wp-login.php ilivashe_domennoe_imya/wp-login.php.
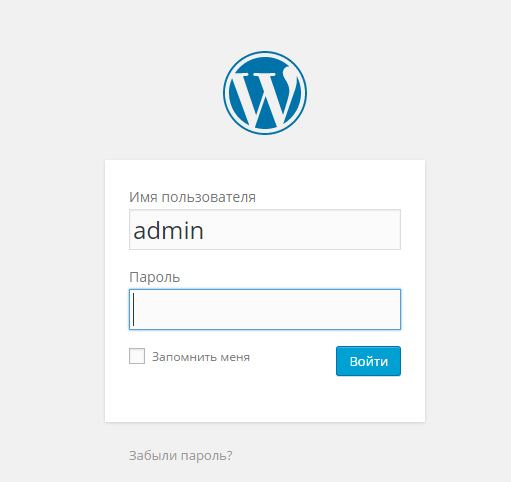
2. If you logged in before, and did not close the control panel, type in vash_IP/wp-admin/or your_domain_name/wp-admin/.
Important: for the correct deployment of the virtual machine template, the capacity of your resource pool (virtual data center) should be not less than 1 vCPU, 1 RAM, 50 GB HDD.